Interface and Application Programming
Assignment
- write an application that interfaces with an input &/or output device that you made
User Interface
These last couple of days I have been wondering what to bring with me to my final project from these last couple of weeks. And for this week I think it would be nice to make some kind of GUI (graphical user interface) like a button on a website where you can turn on the lamp for a period of time. But to do this I think I need to understand my board and the final project better, so I will use the little fabduino that I made to work a bit with input in form of some switches a breadboard and the little serverspace I set up on io.adafruit.com
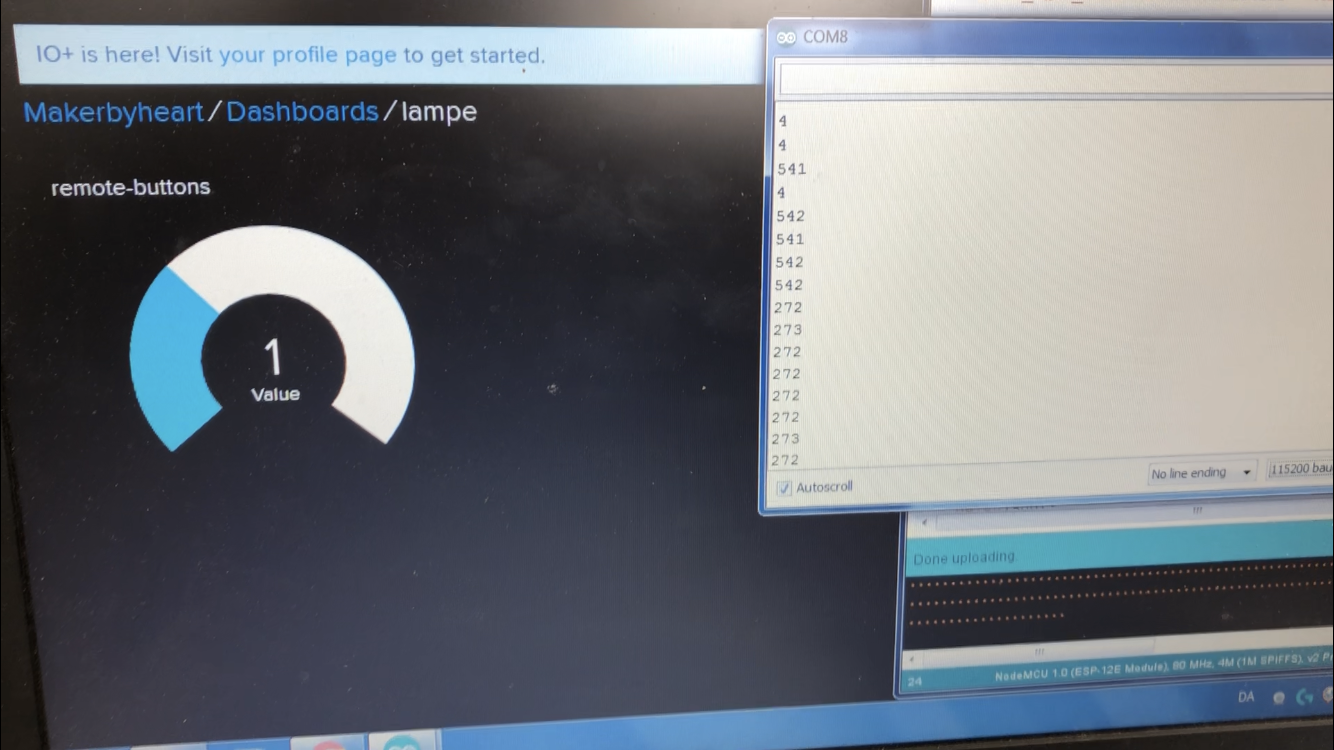
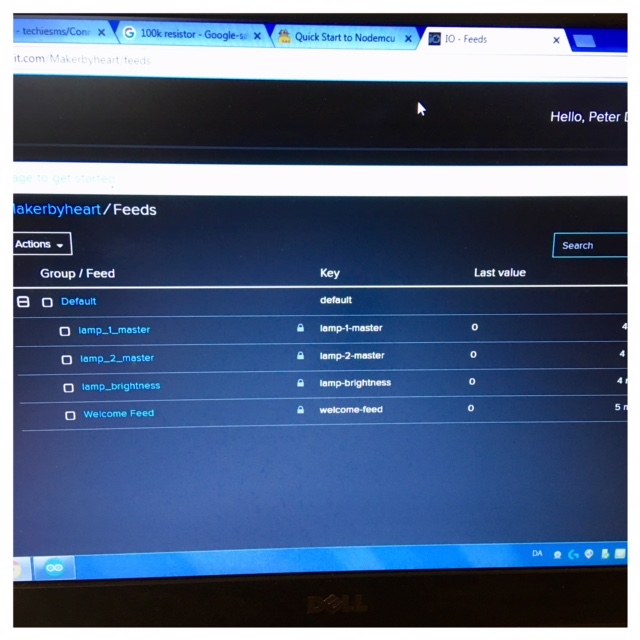
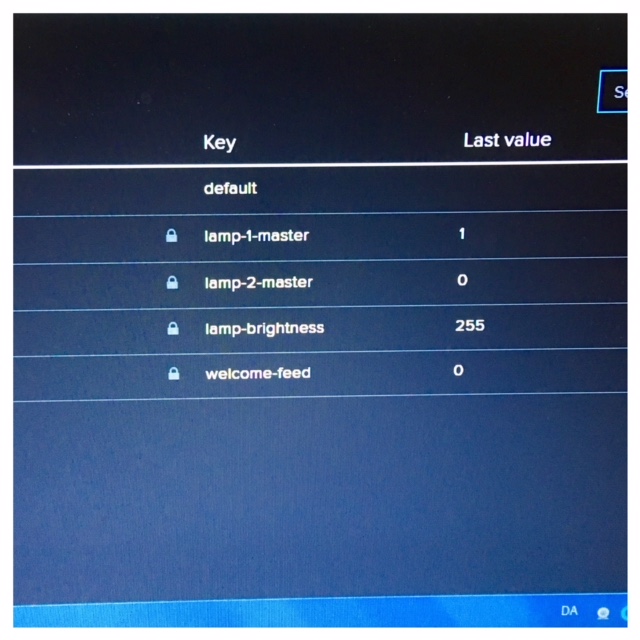
I have worked with my little fabduino board in Arduino IDE and put 4 small switches together so that thay give a different input/value to my board. I have then defined the four values in adafruit so the "pie chart" changes between 1, 2, 3 and 4 depending on which switch you press (see video).
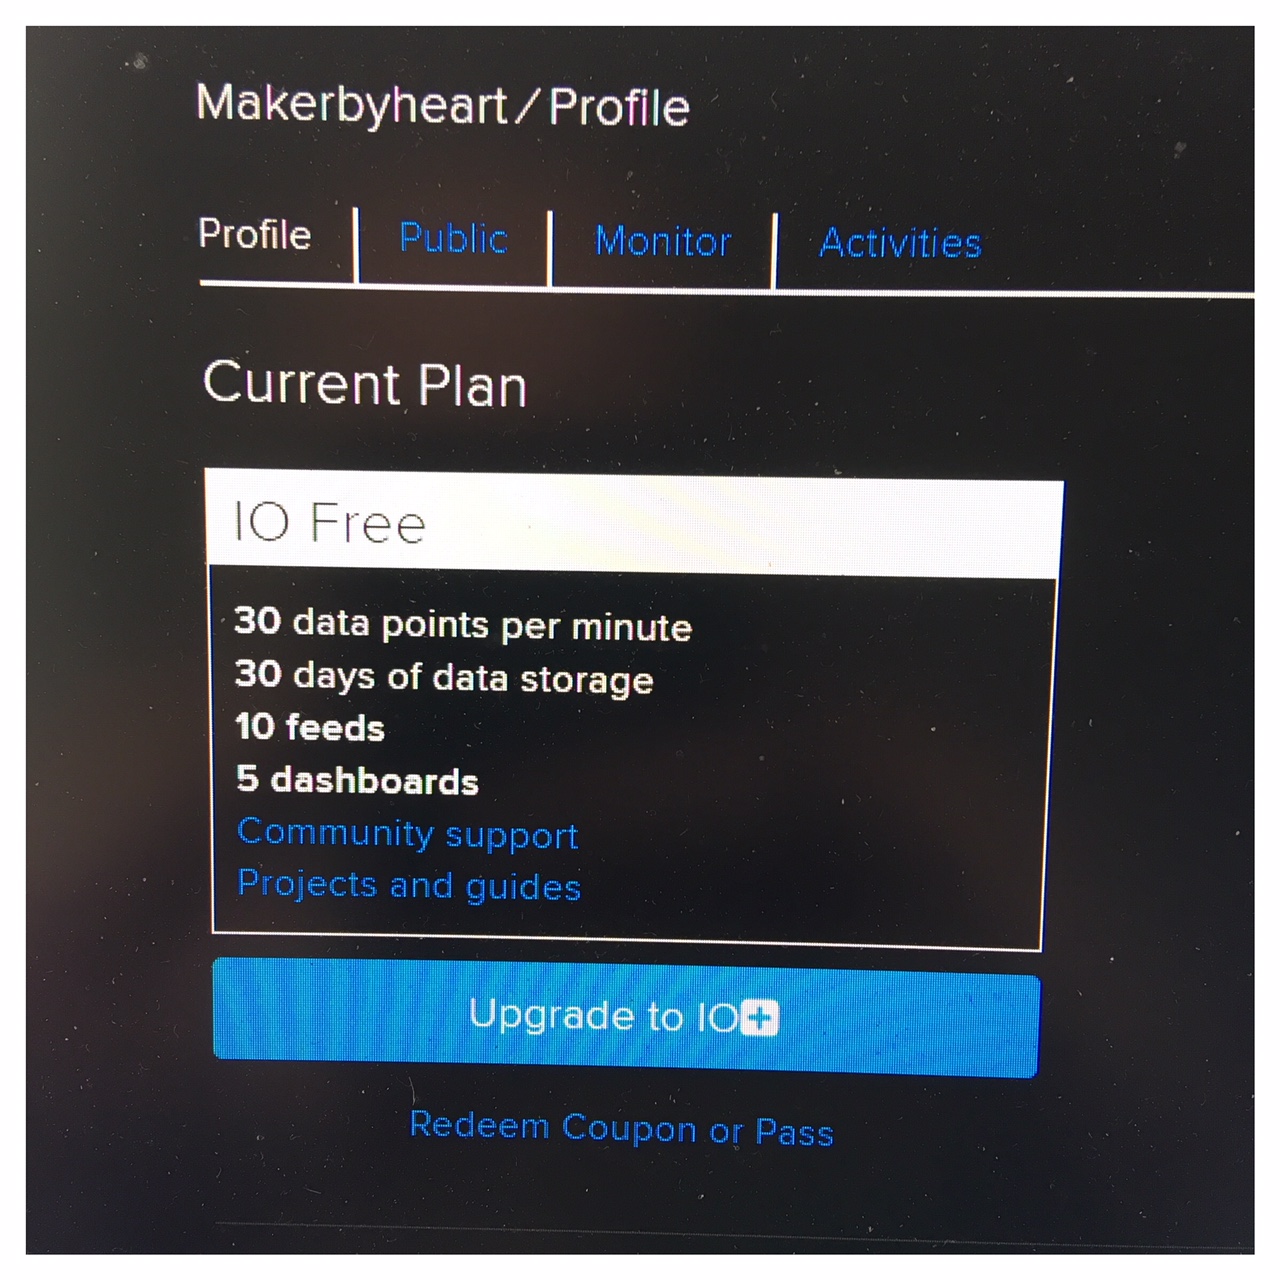
I started out with adding just one switch to see if I could make it work. The little server space and the using friendly enviroment of adafruit's website is really useful when it comes to developing small things. But it's a big downside that your code will be removed after 30 days. Of course, you can reuse it and reinstall it (then you will have 30 days again), but the optimal way would be to run a server yourself.
First I created a simple input controller that will let Adafruit IO know what button was pressed. For this project we will be adding buttons to represent each of the possible states to be passed to our output device: 0 will represent "OFF" and be the first button, 1 for button number two, 2 for button number three and 3 for button number 4. So in all 4 small tactile push buttons. I followed this recipe to get started with the wiring.
remote-control with four buttons
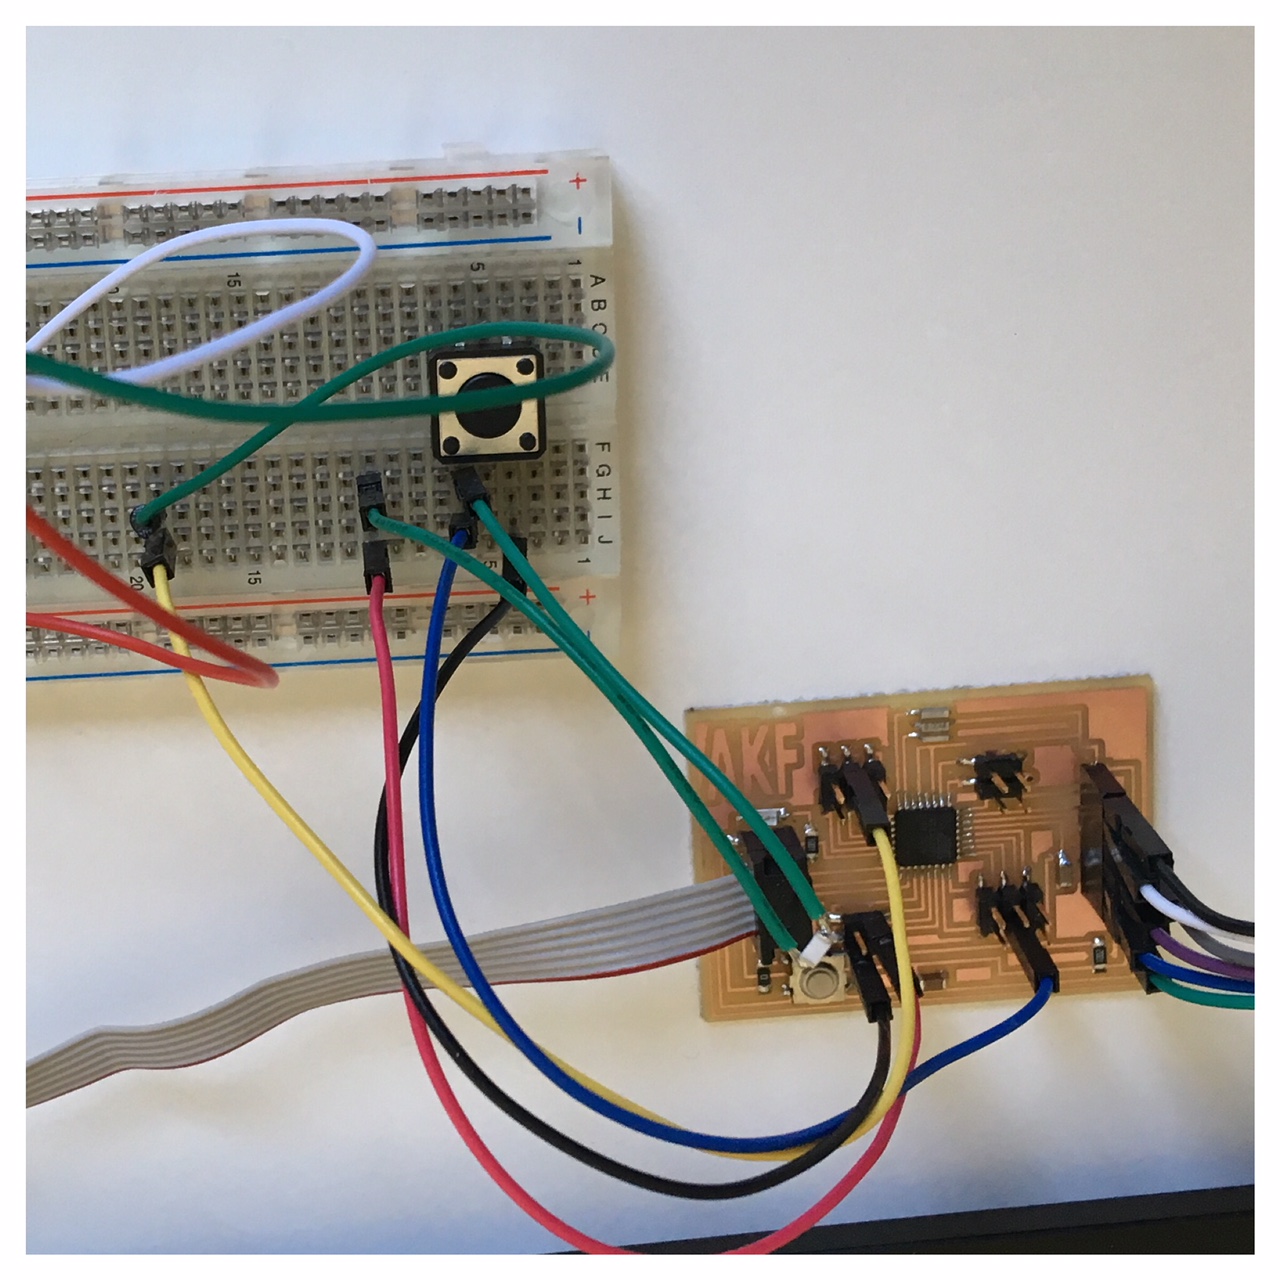
Buttons Wiring
There are different ways to add buttons for a input. For this little project I used resistors along side of the four buttons and read the analog value based on what button was pressed (this value was different because of the different resistors for each button, bigger resistor = less power). Check this link for more information about resistors:small-or-big-resistor This works by adding one resistor to each button, but also setting the resistors up in series. When nothing is pressed, all of the resistors are used and I get a low number value when the analog pin is read. When I press a button, it shorts out the resistor string and we get another value when the analog pin is read. The higher the button is on the chain, the lower the analog value is.
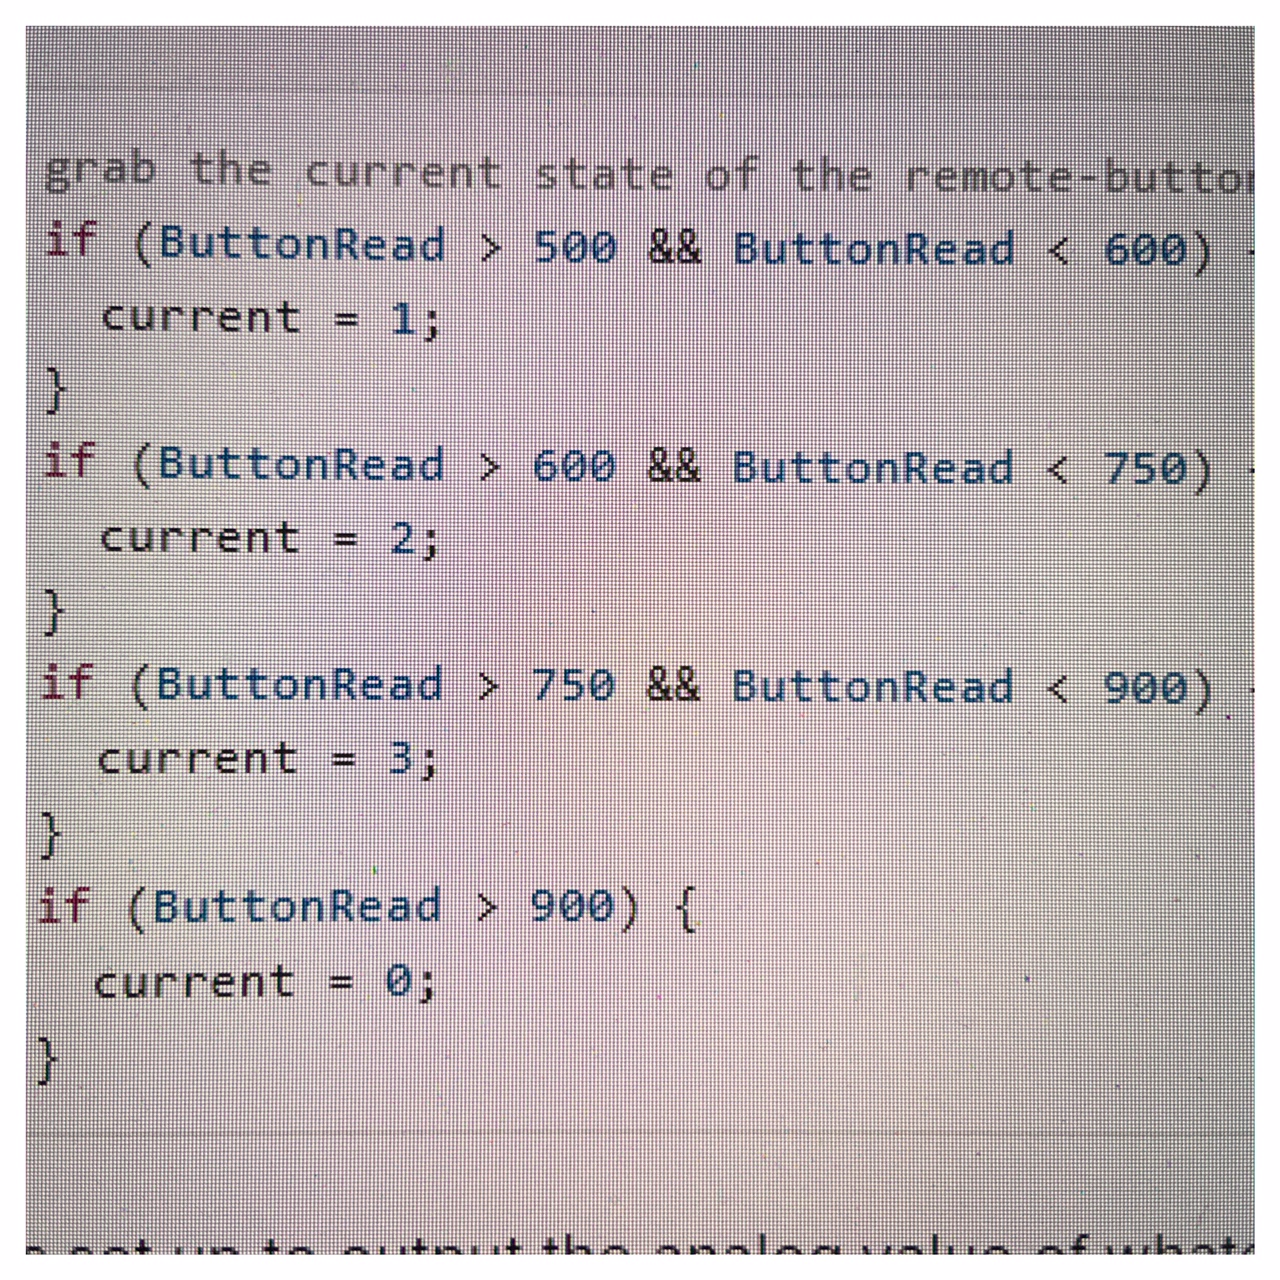
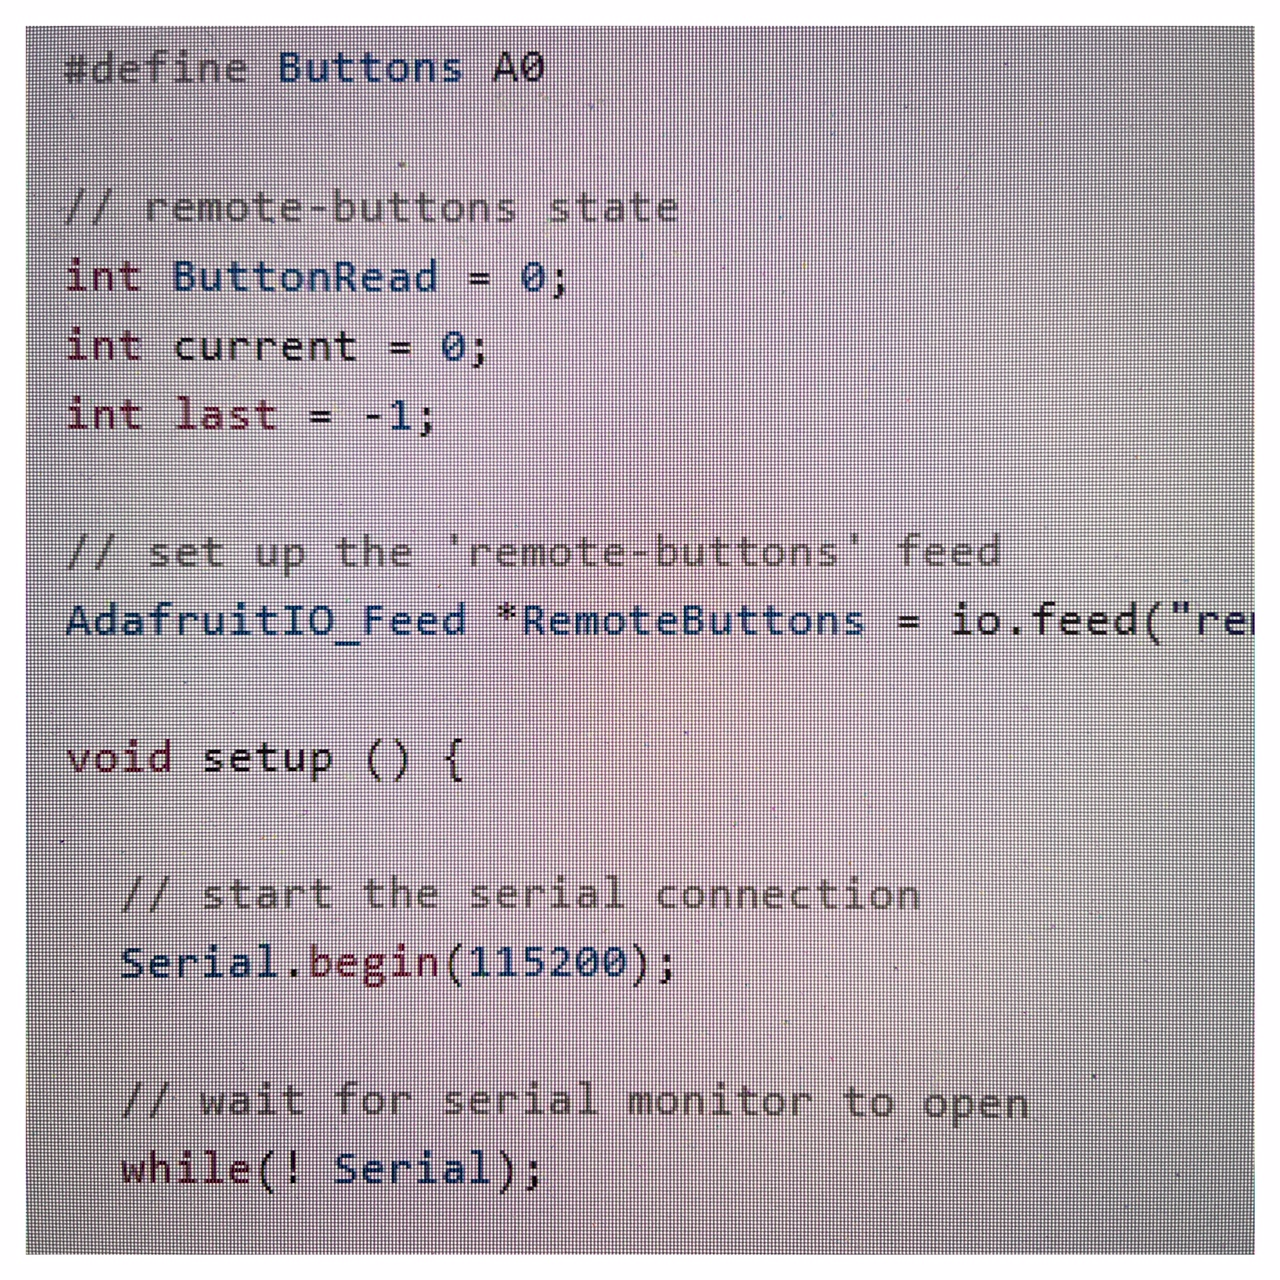
Code for this button-remote project
Code for this button-remote project
For the code please visit the above webpage where you can downloade the code and follow the thorough instruction for this kind of project.
I have also used this page to run the server part of my Final Project. It works really well, but it's not durable in the long run if you want to work with the same product over time because of the 30 days limit.
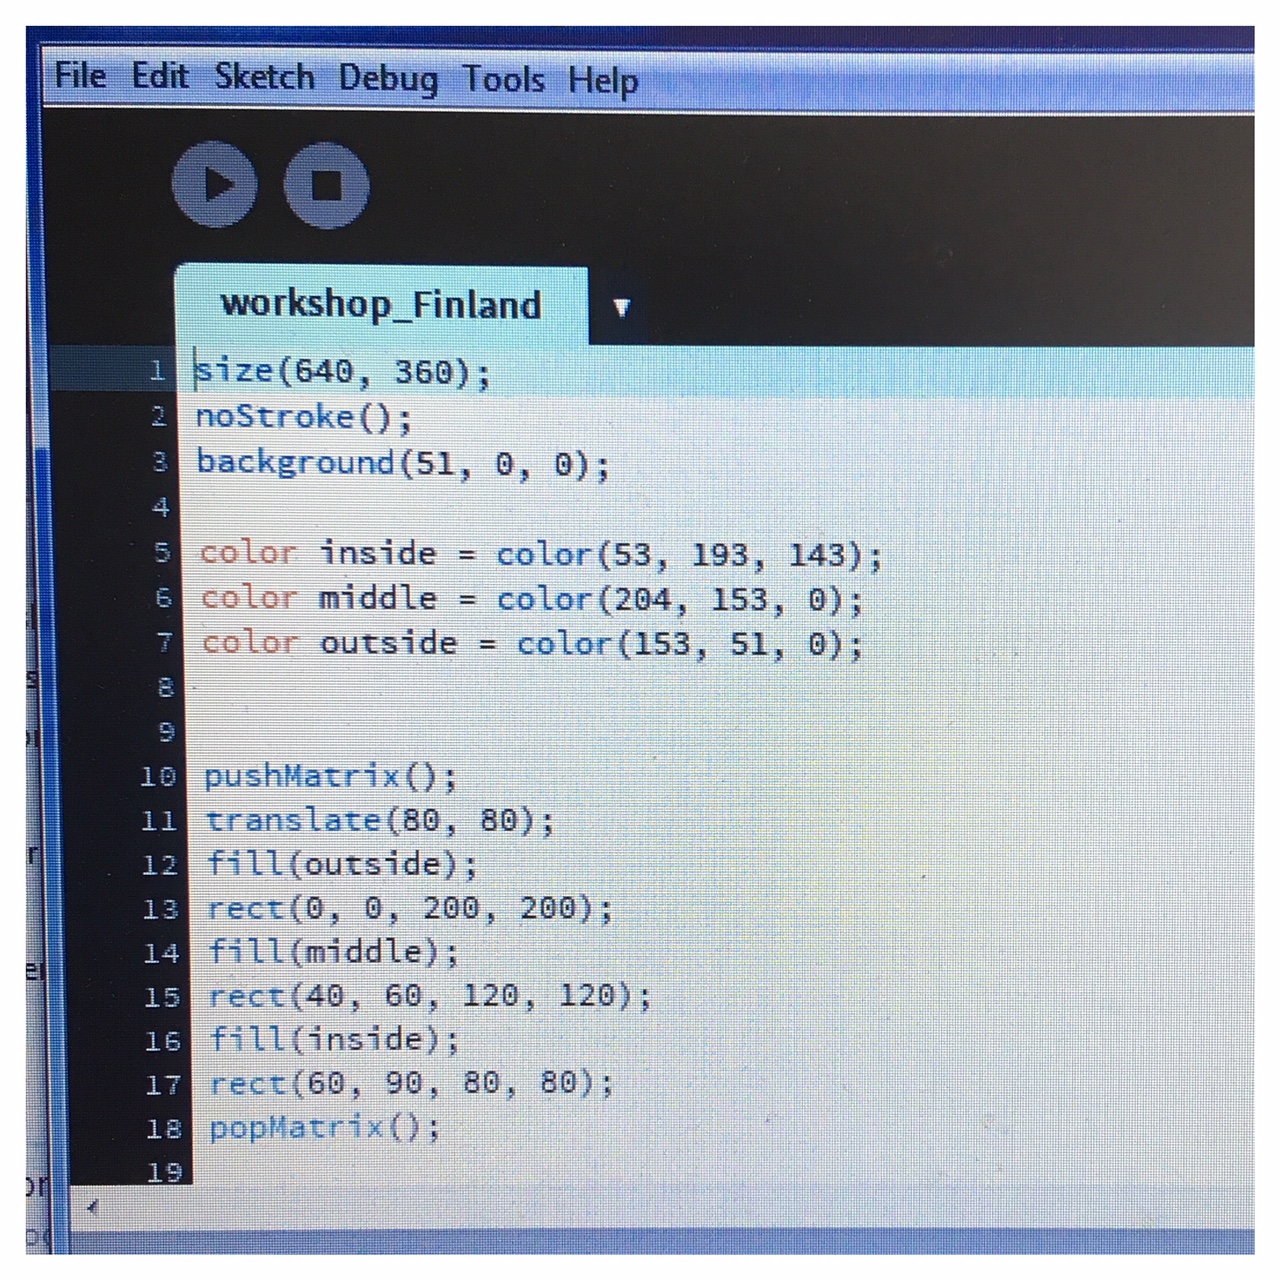
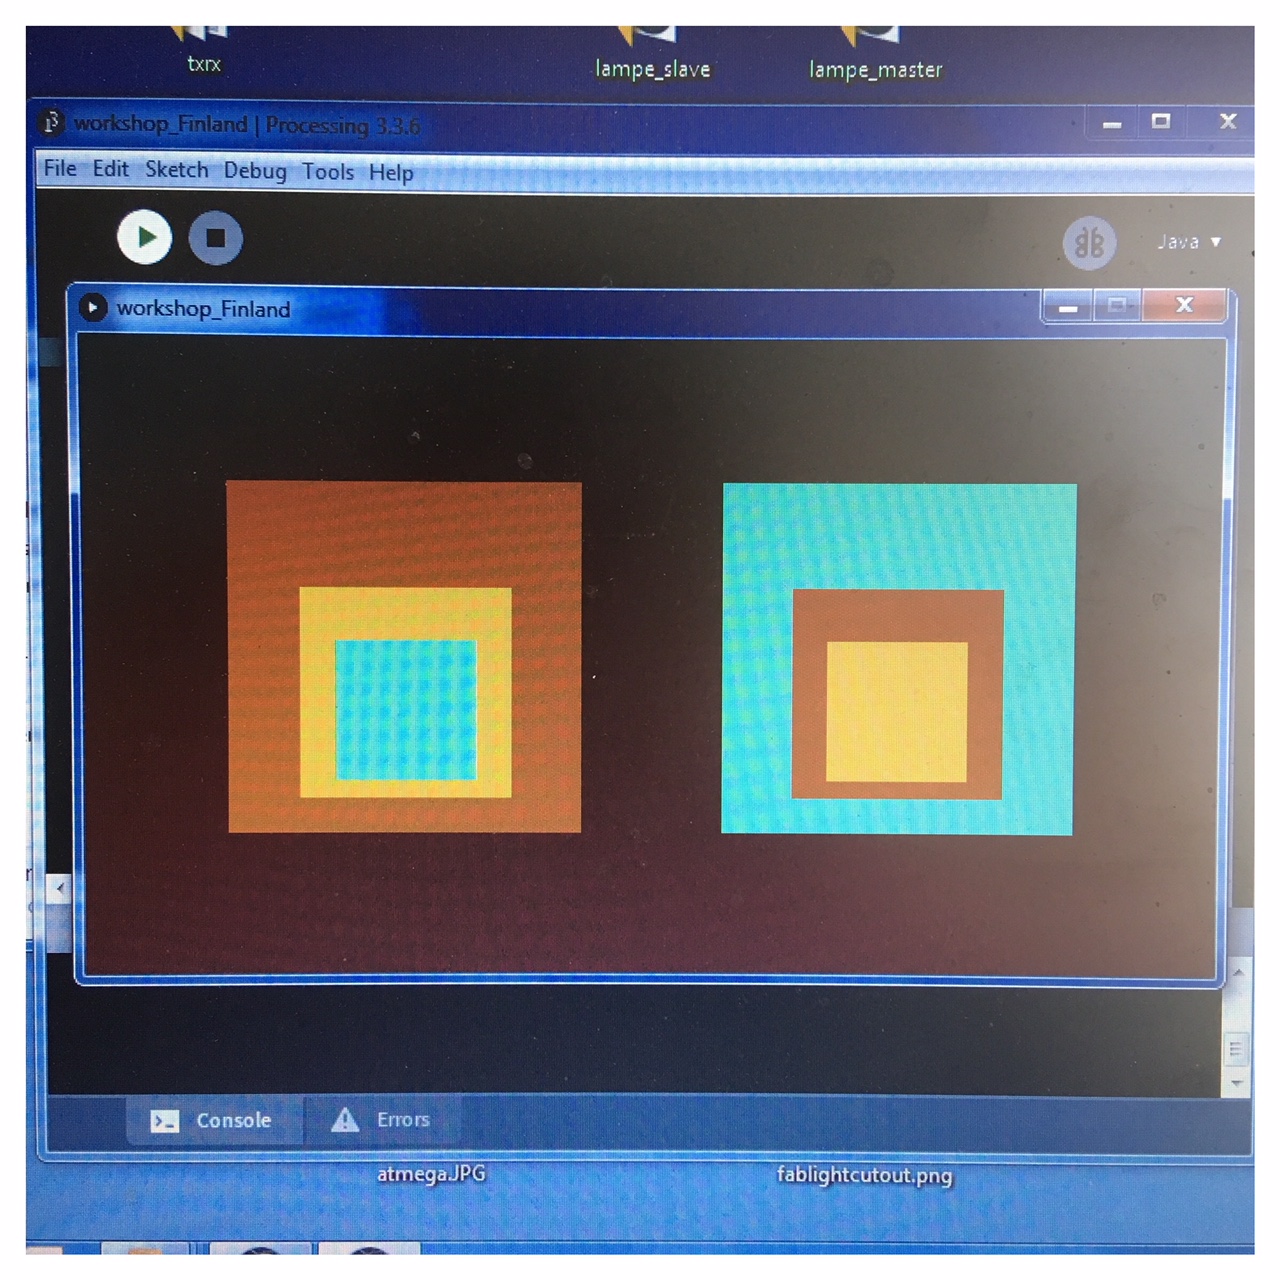
Processing 3.3.6
I tried a little "Processing". I think it's a really good software, so I am looking forward to using it together with students in the primary school. The fact that you can type code parts in and the window next to "perform" it at once is very visually strong. Which I think gives a didactic gain in the work with kids.